Google WiFi Mesh Network Setup

Connecting devices to a Google WiFi Mesh Network is made easier with NetSpot. Find dead zones, create heat maps, and maximize the reach of the network with your Windows or Mac computer, NetSpot, and your Google WiFi devices.

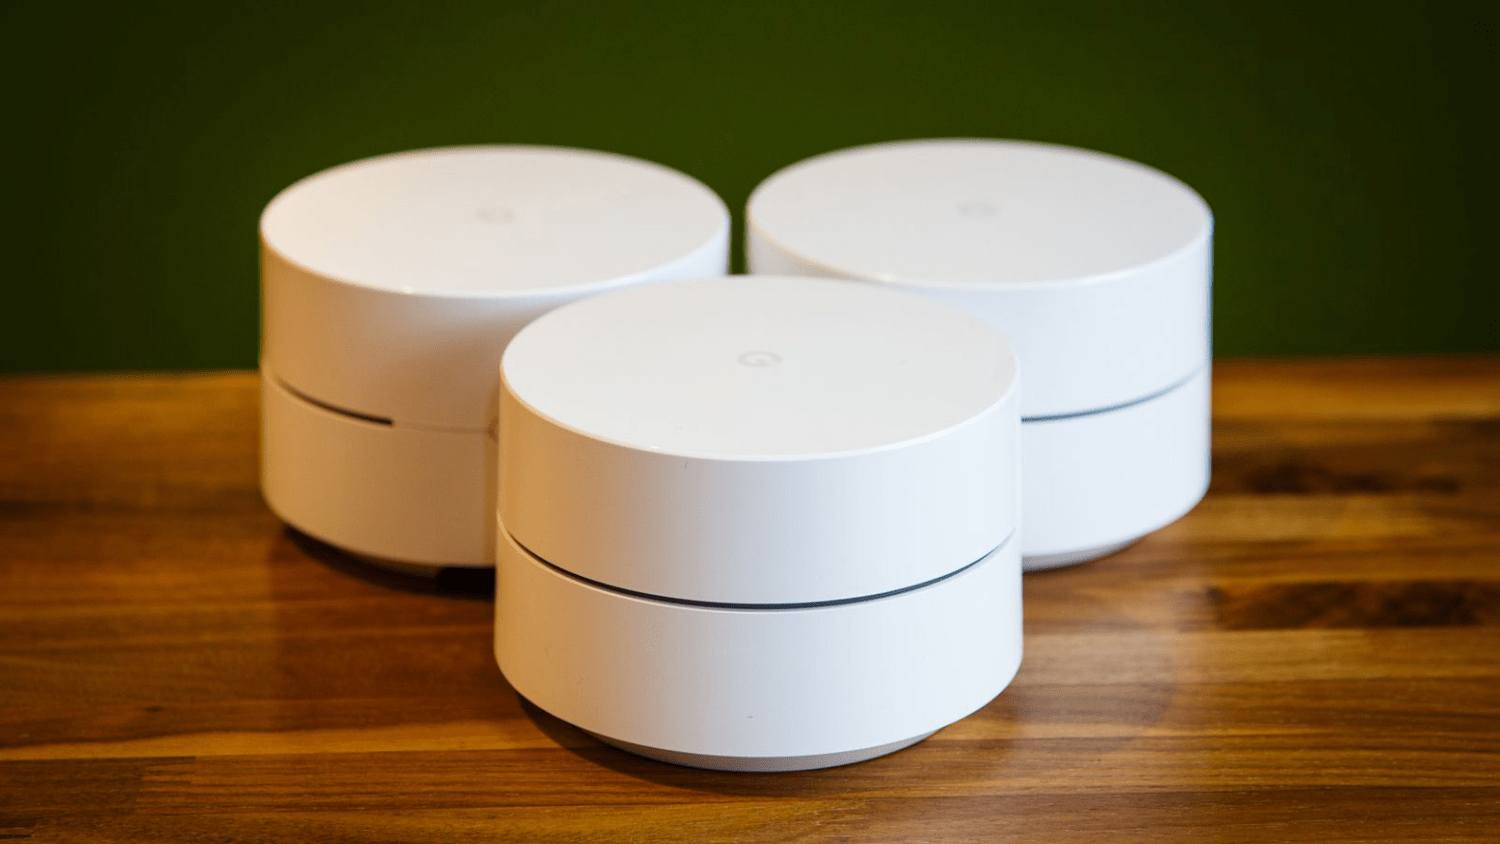
Google WiFi set

Google has brought the world better and faster ways to expand their reach of knowledge in the world, from powerful search tools, file archiving, email, and that hidden Breakout game in their image search feature.

NetSpot WiFi Survey Software
Measure and visualize the strength of your wireless router at ease.
  • 4.8
  • 957 User reviews

Reaching Everywhere with Google WiFi

One of their hardware offerings has helped people expand the reach of their home networks without a ton of complicated machinery. Google WiFi mesh networks helps users create their own expanded networks within their home or small business environment. WiFi has a long range, but it can be affected by all sorts of factors such as:

  • Distance: the further the distance, the weaker the signal on the other side will be.

  • Interference: Every electronic device puts out electromagnetic waves. The more devices in an area, the greater the interference which can weaken signal strength.

  • Building materials: More buildings are being made with metal frames to protect against harsh weather conditions. Metal can also block signals, but consider other sources of metal. Like a kitchen with a microwave or a stainless steel refrigerator.

The problem is just where to put the devices. Rather than just scatter them randomly about and hoping for the best, we can use tools like NetSpot to show the strength of our network at each location, and use that information to best place our devices.

How Mesh Networks Work

Google WiFi mesh networks work by a series of small devices working together to connect devices to the network. Imagine a gymnasium of people, and we really want to talk to the person on the other side of the gym. We have a few options:

  • We can shout louder at them. Doing so takes up more energy, and will likely tire us out as well as really hurt our voice. Also, if we want our friend to shout back at us, we have to hope there aren’t people also trying to have a conversation along the way to block their voice and that we can hear them from across the entire gym.

  • Get a direct connection between us and our friend, like running a telephone line between us and talking that way. It’s great for quality and speed — but now we have to have this wire between us to worry about everywhere we go.

  • Create group of other friends to pass the messages between us. We can write down our message and hand it to one friend, who will pass it on to the next friend, and the next, until it reaches our intended target. When our friend wants to return the message, they just reverse the process.

Google WiFi Router
Google WiFi mesh networks

The last option is how a mesh network works. We have to set up our “network of friends” beforehand, but now even when there are more and more people in the gym, our messages have a good chance of getting through.

The more friends we have, the more we can get our message to the other areas of the gym. But more important than just the number of friends is where they’re positioned. If we can’t hand our note off to someone because they’re out of reach, then our messages still won’t go anywhere.

Google WiFi Prerequisites

Now that we know what kind of network we want to use, here’s how to set up our Google WiFi mesh network. In order for this process to work, we need some things first:

  • A connection to the Internet: This can be a local router or cable modem that has Ethernet ports for us to connect.

  • An Ethernet cable: We have to connect our first Google WiFi mesh device to the router.

    Note: This is usually provided in the Google WiFi package.

  • At least one Google WiFi Mesh device.

  • A cell phone with the Google WiFi app on it — this can be either for Android or iOS.

  • NetSpot on either Windows 7/8/10/11, or a Macintosh. This can be downloaded for free at https://www.netspotapp.com/, and the heat map feature is available to registered users.


If all of those pieces are in place, let’s get to setting up our Google WiFi Mesh Network.

Google WiFi Setup

If we have the hardware and Internet connection in place, here’s how to add our Google mesh WiFi devices:

  • Plug the first Google WiFi power cable and attach it to the device.

  • Plug the ethernet cable into the Google WiFi device, then into an available port on the router or cable modem.

    Note: Make sure that we can connect to the Internet this way. The easiest way would be to disconnect a laptop from WiFi, then connecting it to the router via the Ethernet cable. If we can still connect to the Internet, then we are good to go.

  • Wait for the Google WiFi mesh device to power up. Once it’s ready, it will glow blue.

  • Launch the Google WiFi app. On the bottom of the Google WiFi device is a QR code. Scan that with the cell phone camera. This provides the settings and connection information that we’ll need for the rest of the process.

  • Wait for the Google WiFi App to verify the settings. The Google WiFi device needs to be connecting properly to the Internet for all of this to work.

  • In the Google WiFi App, give this device a location like “Home Office” or “Downstairs Hallway” so we know where it is in our location.

  • Enter a WiFi network name and password. From this point on, this will be how we connect our devices to the network.


Before we go on, make sure that NetSpot is installed and running. Remember that for the Heat Map functions we need a registered version of NetSpot. For more information, check out the license options at https://www.netspotapp.com/netspotpro.html.

Once the first Google WiFi mesh device is plugged in, launch NetSpot on our laptop and let’s see how things look so we can decide where to place our next device. Here’s the procedure for this:

  • Connect to the new Google mesh WiFi network.

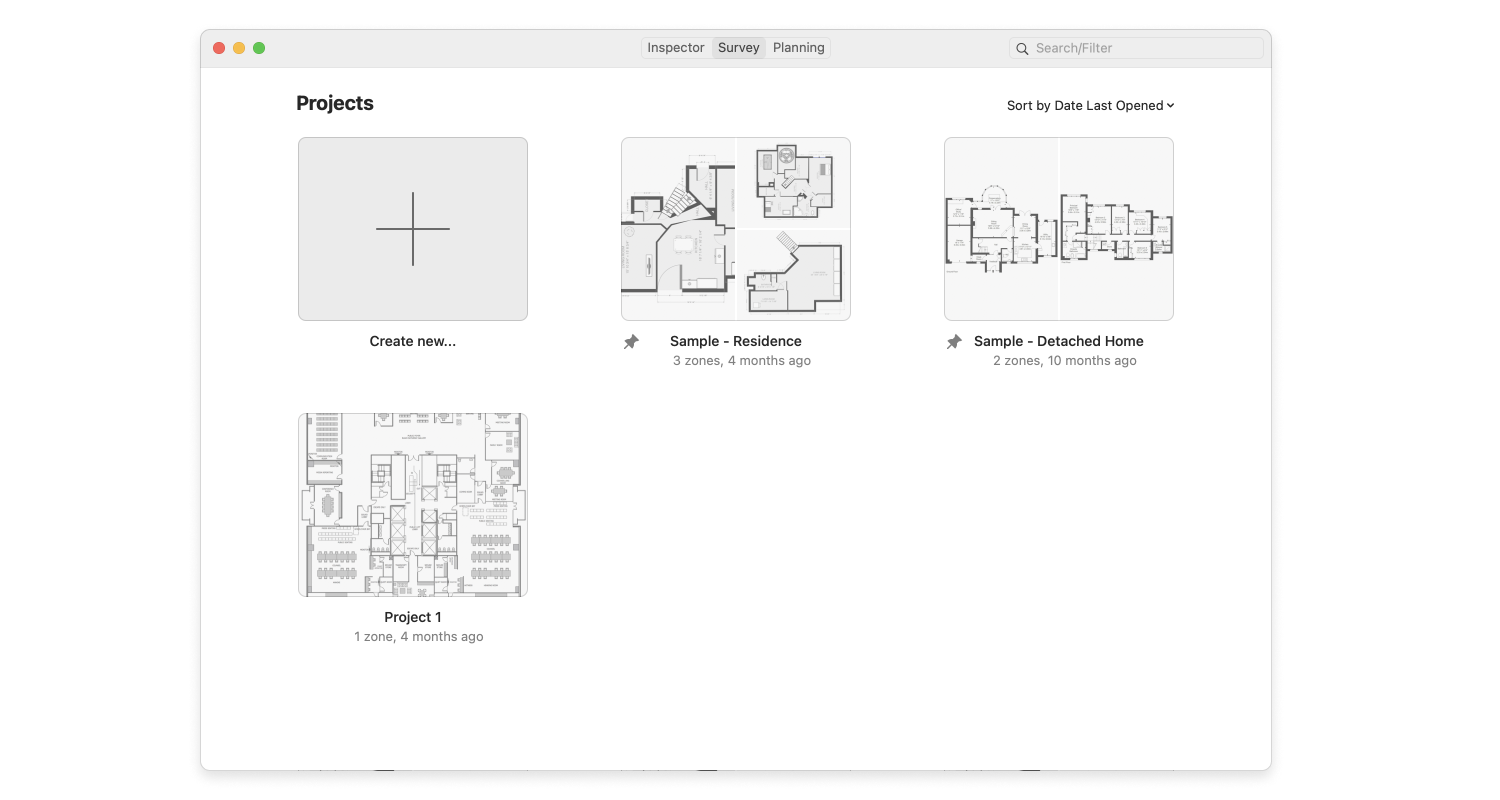
  • Start the NetSpot app and select “Start a New Survey.”

NetSpot — start a new survey
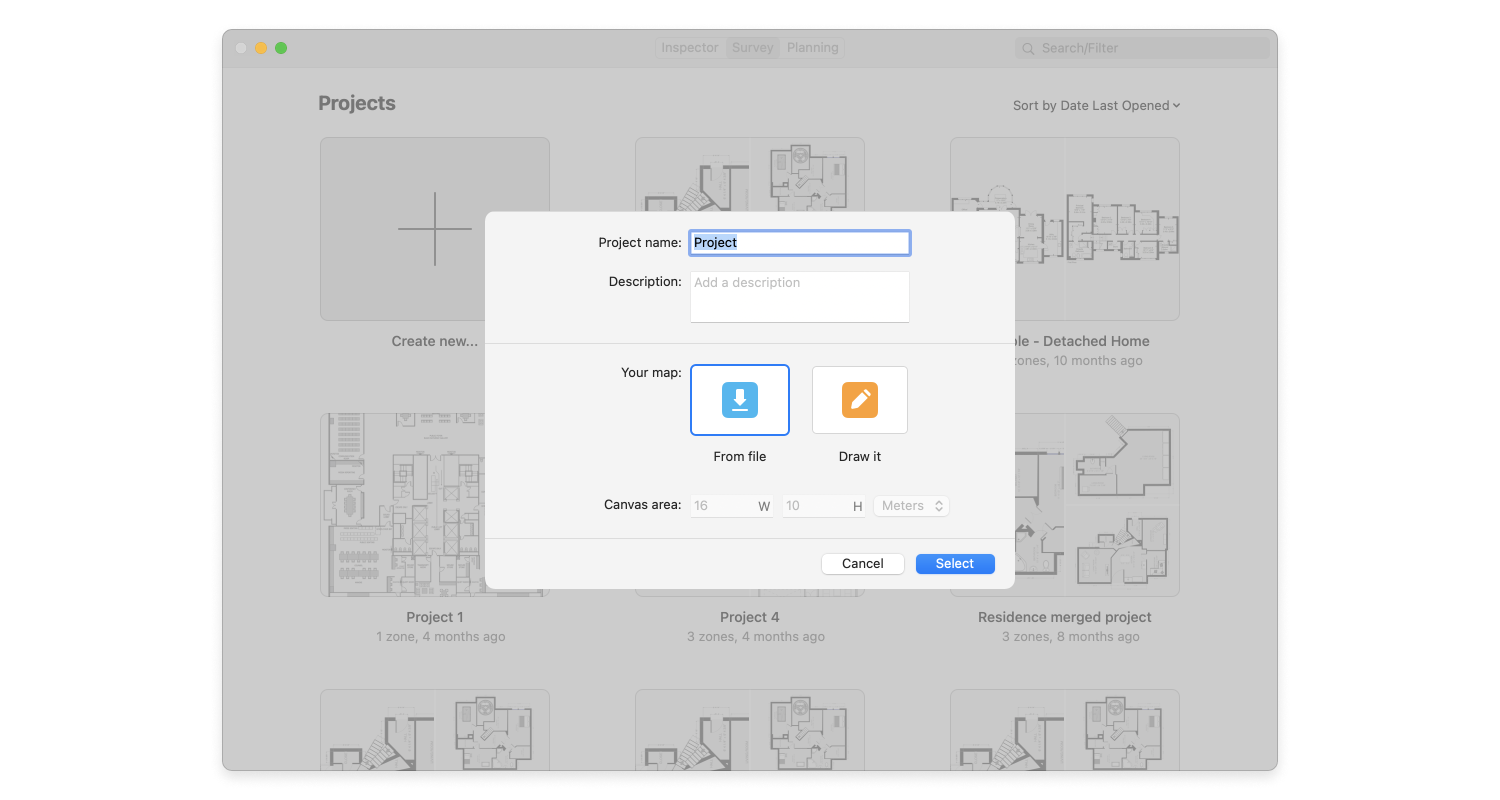
  • Give the project and zone appropriate names. If you have a map, select “Load a file with a map” that represents the local area we’re going to scan.

Netspot — New Survey
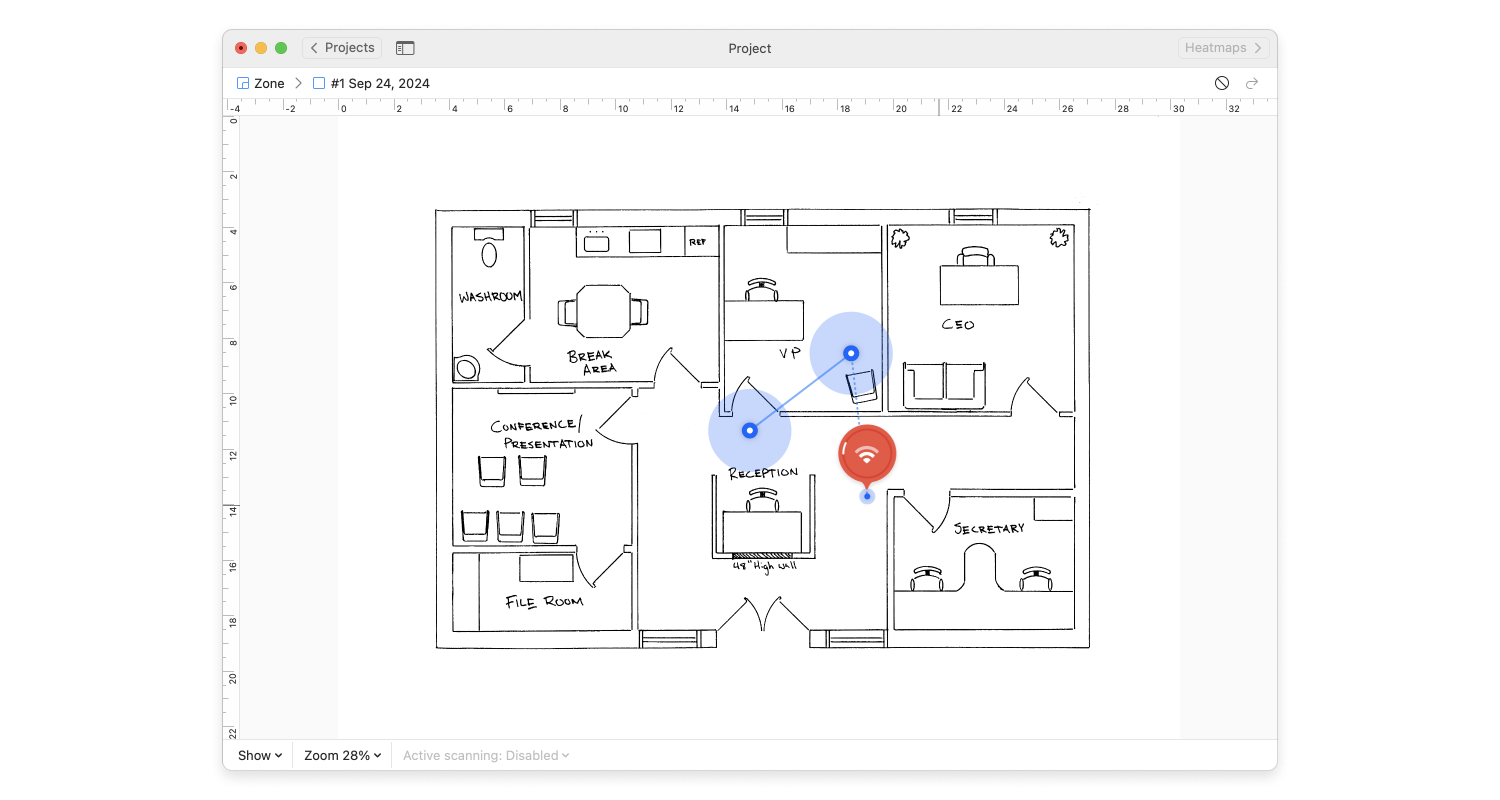
  • Select “Active Scan.” Go through the location with the laptop, and click where the laptop is on the map. NetSpot will scan the WiFi frequency and measure how strong the signal is as well as other factors. Do through each area where we will be having devices.

To Scan with Netspot
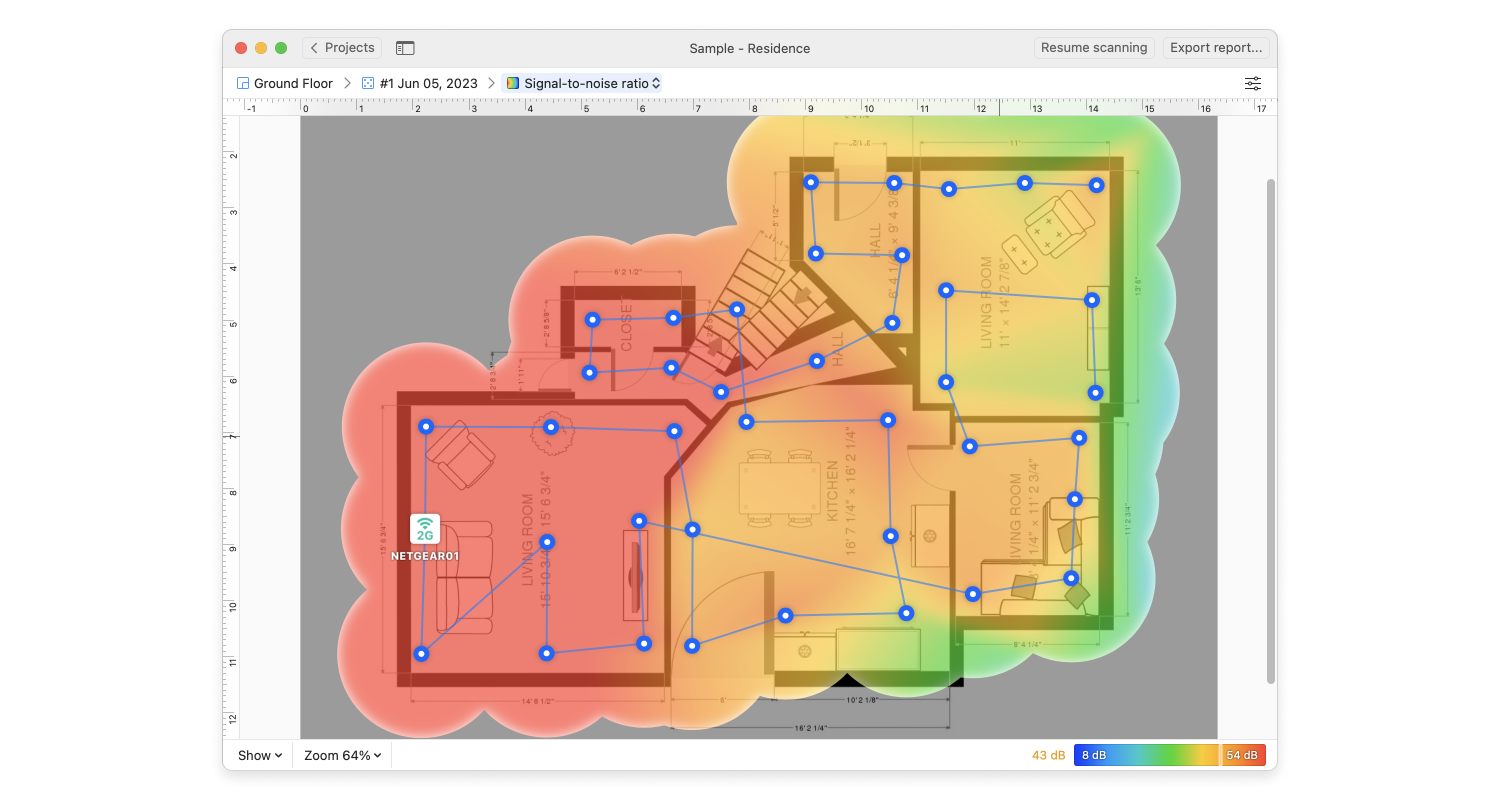
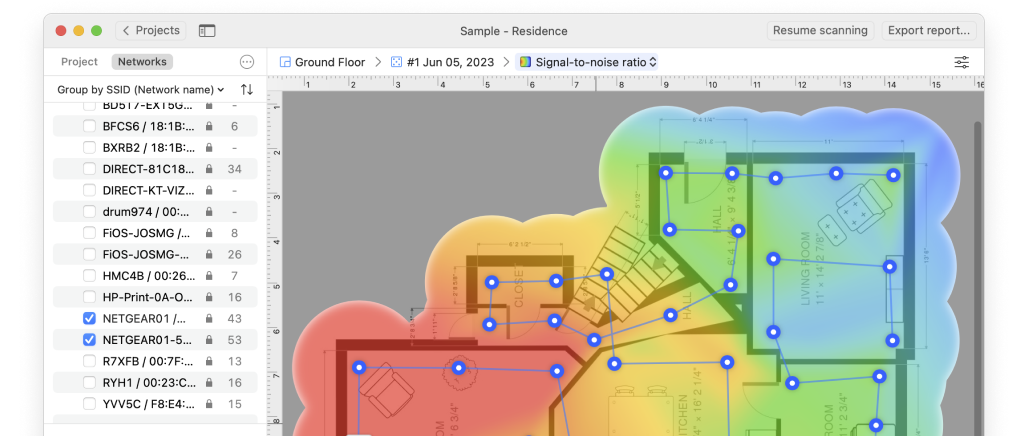
  • Once done, select the Heat Map option (for registered users) and we’ll see how the signal looks through the property. If this is a free version, then we can still get our information by the charts and signal strength from NetSpot’s statistical tools.

Wifi Heatmap

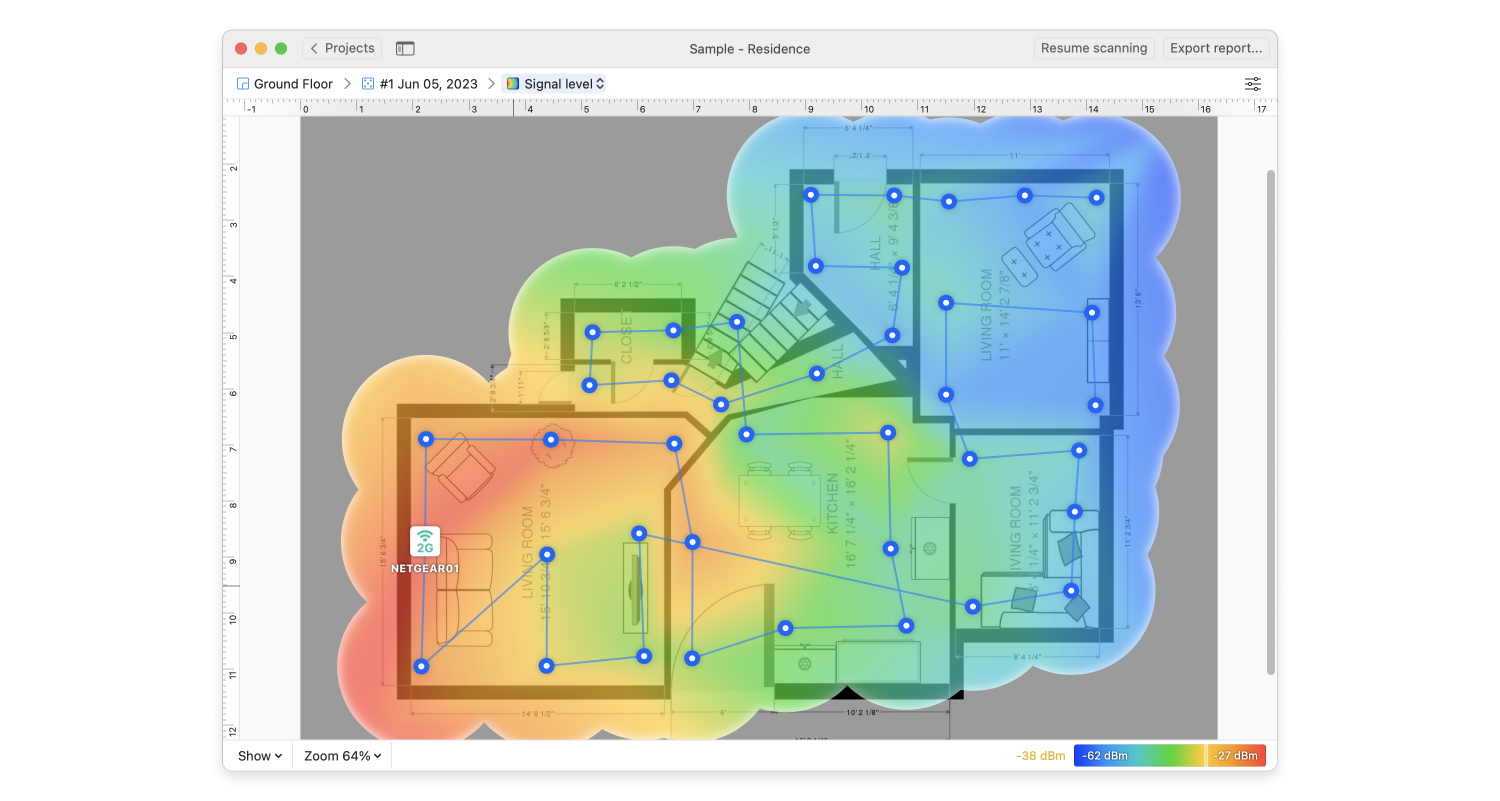
Now we can see where our signals are stronger or weaker. Blue is weak, and red is strong. As we can see from our map, we have decent signal strength through most of the location, but the far left side things are weaker. Placing our next Google mesh WiFi device in the middle where the signal starts to weak would be a great place for our next device.

Now we know where to setup our Google WiFi devices. Here’s how to add a new device to the network to expand its reach:

  • Plug in the next Google WiFi device into power and wait for it to boot up.

  • In the Google WiFi app, give it a named location. Follow any additional prompts to make sure it’s properly connected to the network.

  • Load NetSpot and rescan the network. If there are any additional weak spots, move the Google WiFi device in a different spot and rescan.

  • Repeat these steps with any additional devices.

Here’s an example of a very simple building and the heat map with just two devices attached, scanned in different areas:

NetSpot map signal level

Expanding With Google WiFi

Using NetSpot with the Google WiFi setup process can turn the easy to use Google WiFi devices into an even stronger system for our devices. We can find all of the weak zones, and maximize the spread of our network so every device has maximum connection. The download is free, a license for home use is very affordable, and it’s an easy to use tool that gives the power of an enterprise application with an easy to use interface. Try it for yourself, and happy connecting.

SO, WE RECOMMEND
NetSpot

WiFi analyzer app runs on a MacBook (macOS 10.12+) or any laptop (Windows 7/8/10/11) with a standard 802.11a/b/g/n/ac/ax wireless network adapter.

Get NetSpot
  • 4.8
  • 957 User reviews
What people say about us
Read next in All about Wi-Fi Extenders, Boosters

If you want to get more information about Wi-Fi, check out the following articles about Wi-Fi Extenders, Boosters etc.

Issues with WiFi?
Eliminate dead spots with NetSpot — a top-notch wireless survey tool.
NetSpot Wifi Heatmap
NetSpot for iOS
Heat Maps & Speed Test
NetSpot
Free WiFi Analyzer
We use cookies to ensure the best user experience on our website. Learn more