Google has brought the world better and faster ways to expand their reach of knowledge in the world, from powerful search tools, file archiving, email, and that hidden Breakout game in their image search feature.
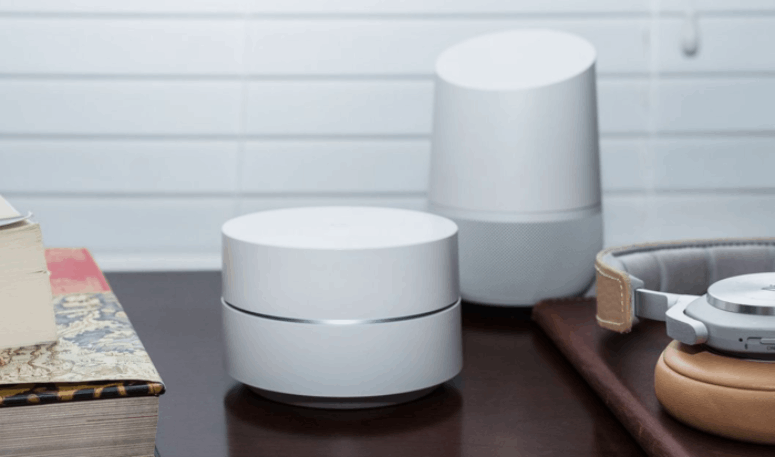
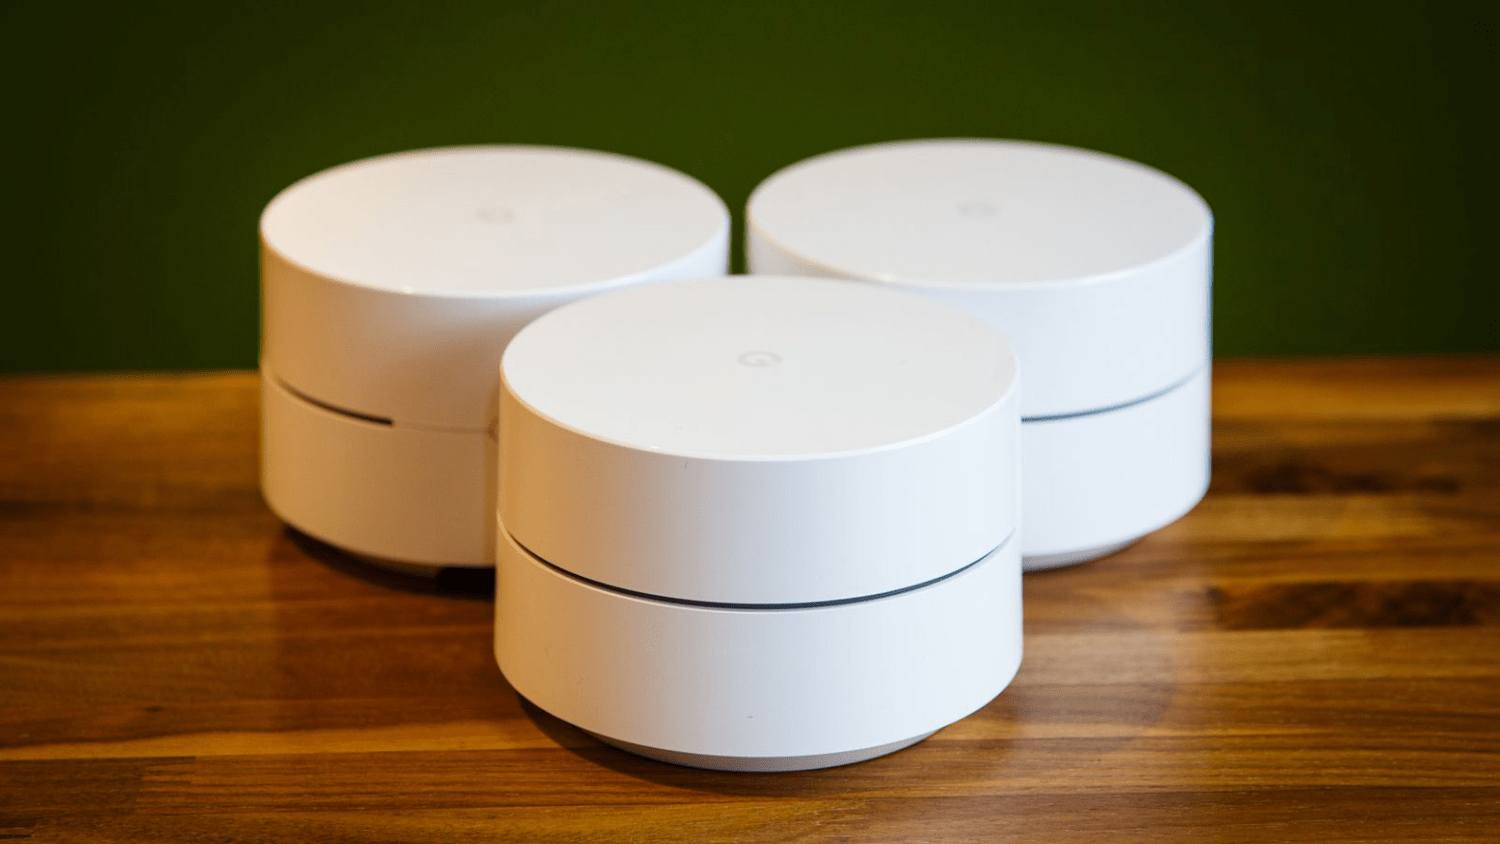
Google WiFi Mesh Network Setup
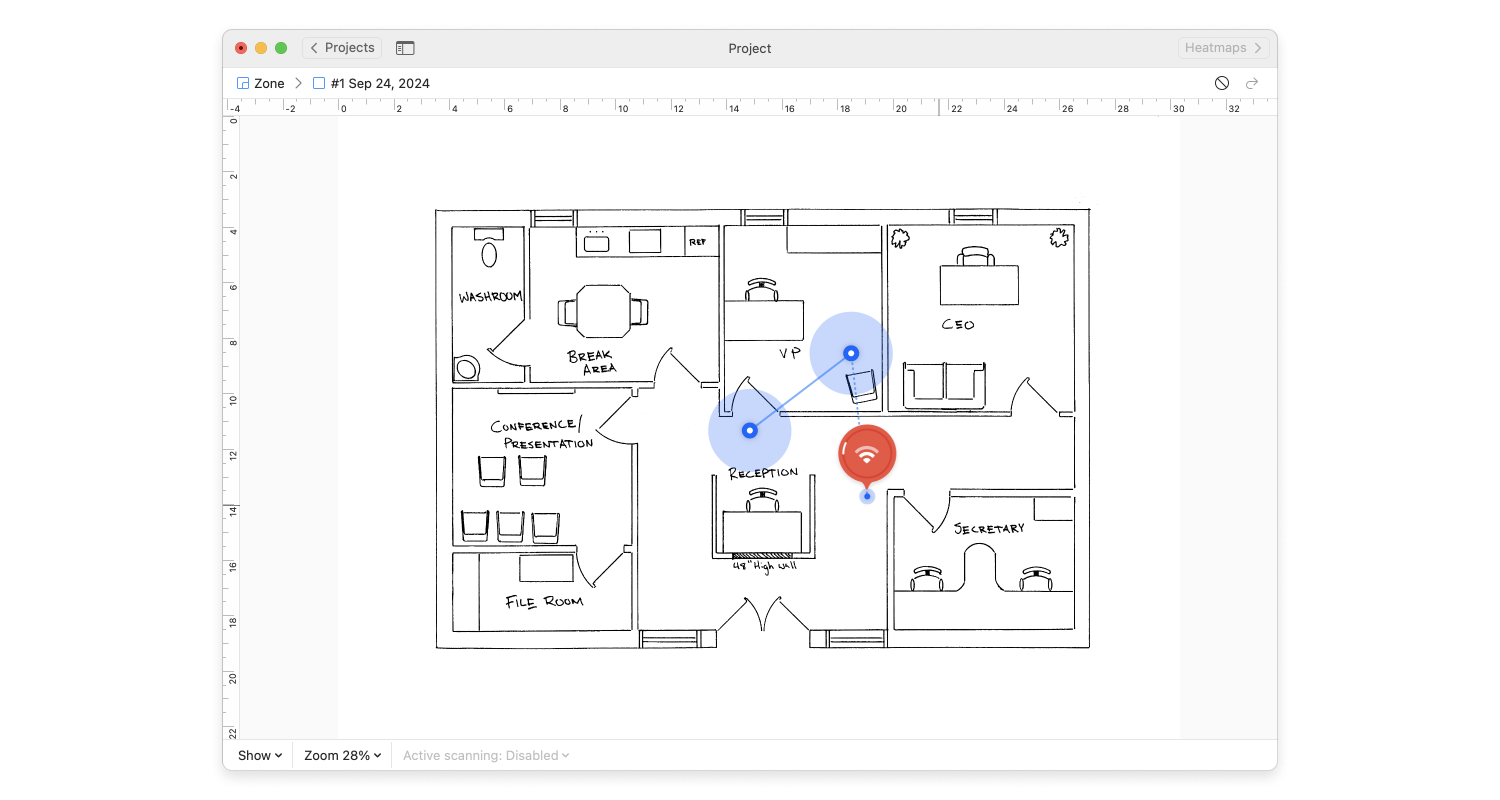
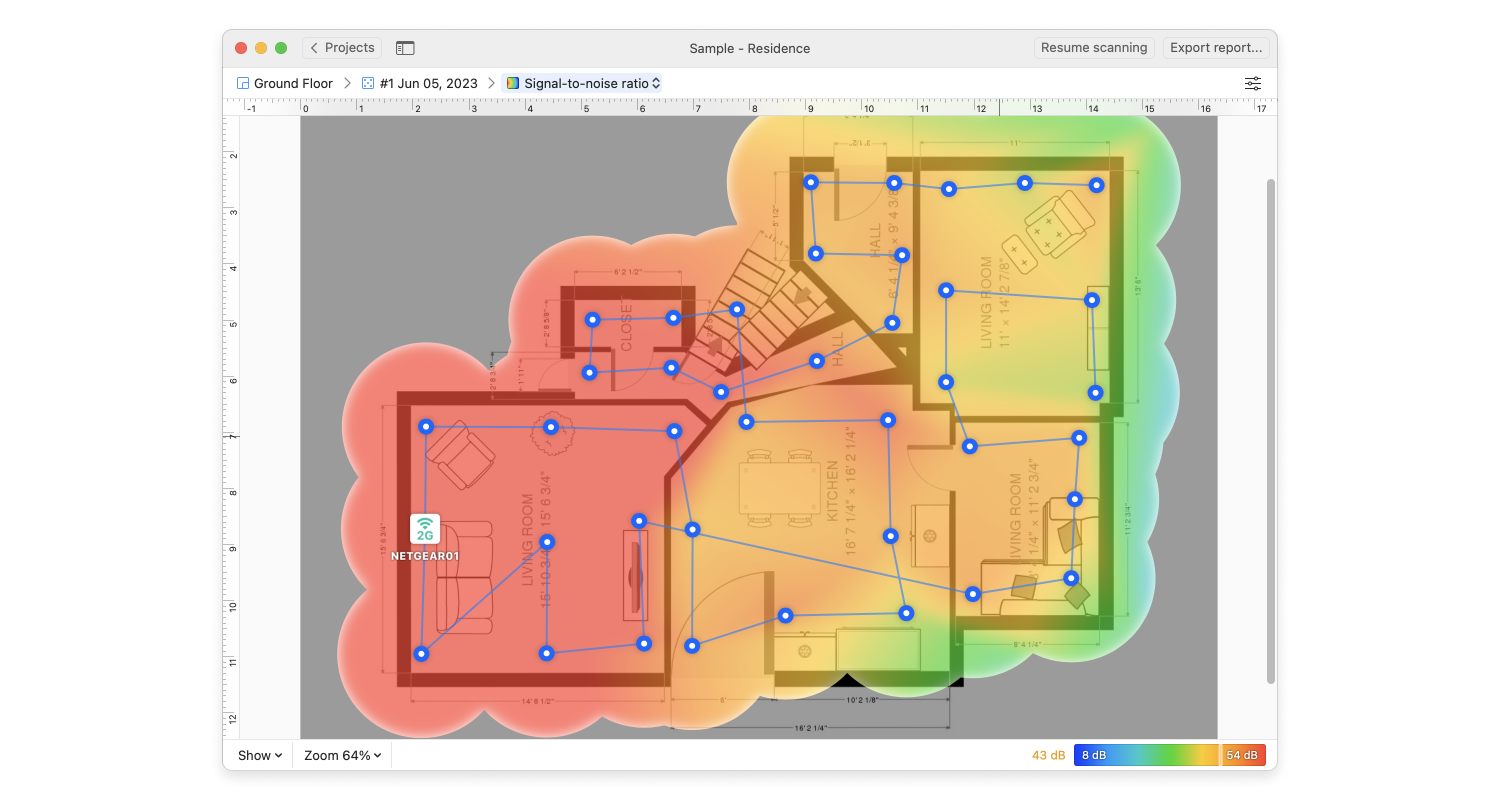
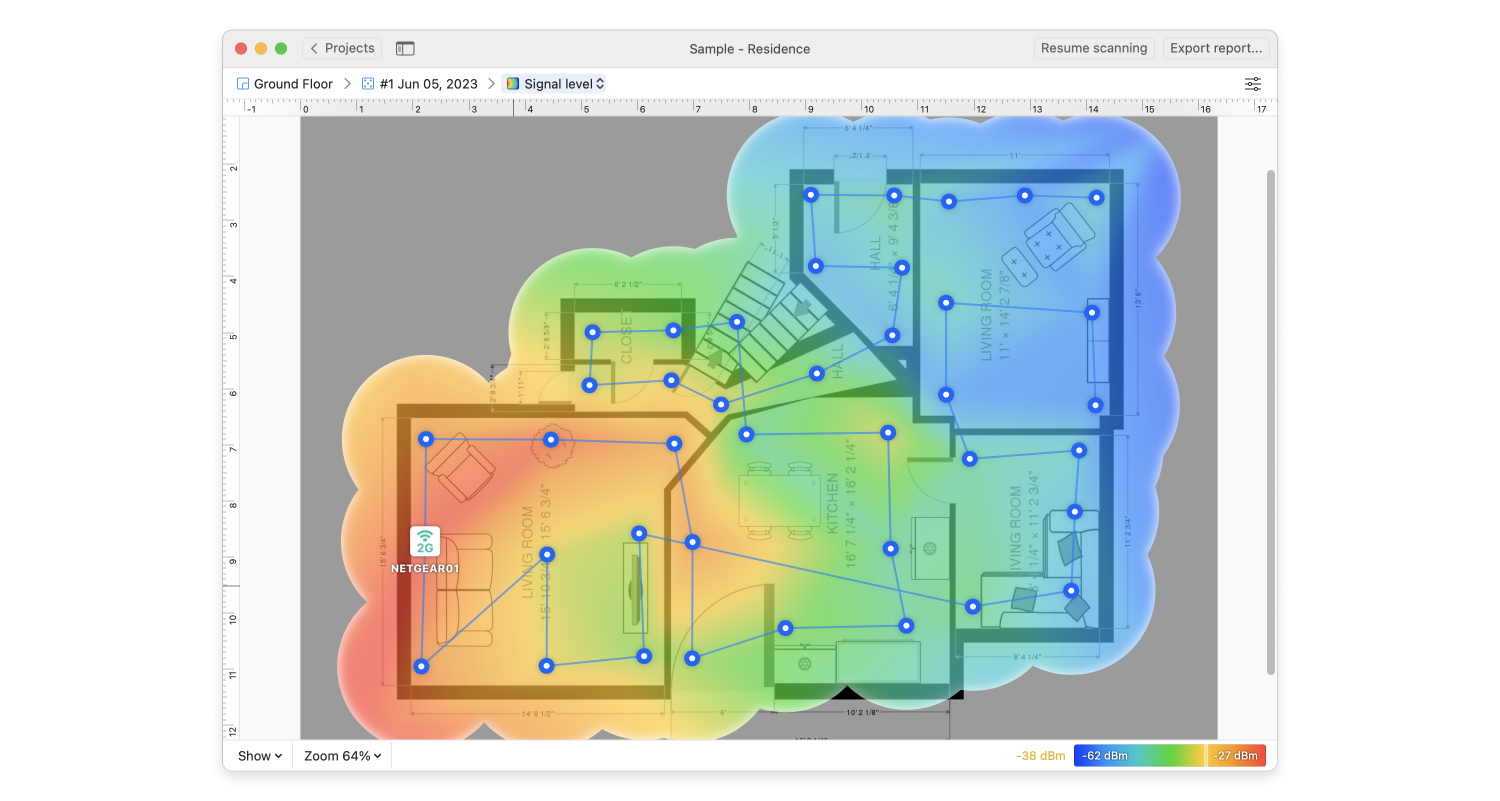
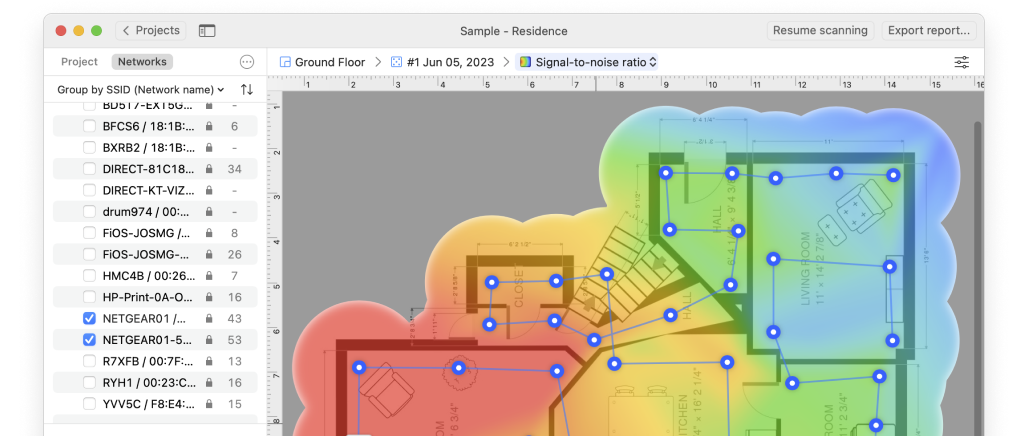
Connecting devices to a Google WiFi Mesh Network is made easier with NetSpot. Find dead zones, create heat maps, and maximize the reach of the network with your Windows or Mac computer, NetSpot, and your Google WiFi devices.
December 4, 2025