If you do not have a map of your space, you can easily draw one right in the NetSpot application. (Please note that this is a basic drawing program for creating simple maps. It does not have AutoCAD-type capabilities, nor do we plan on adding them in the future. If you need more sophisticated maps, please use a specialized program.)
Use the following steps to draw your map:
1) Before you begin your survey, ensure you have all the needed measurements of your surveyed space as this will be important for proper scaling. It might be helpful to have a rough paper sketch of the walls with measurements at hand. Also take note of the areas where good coverage matters most, such as workstations or meeting rooms.
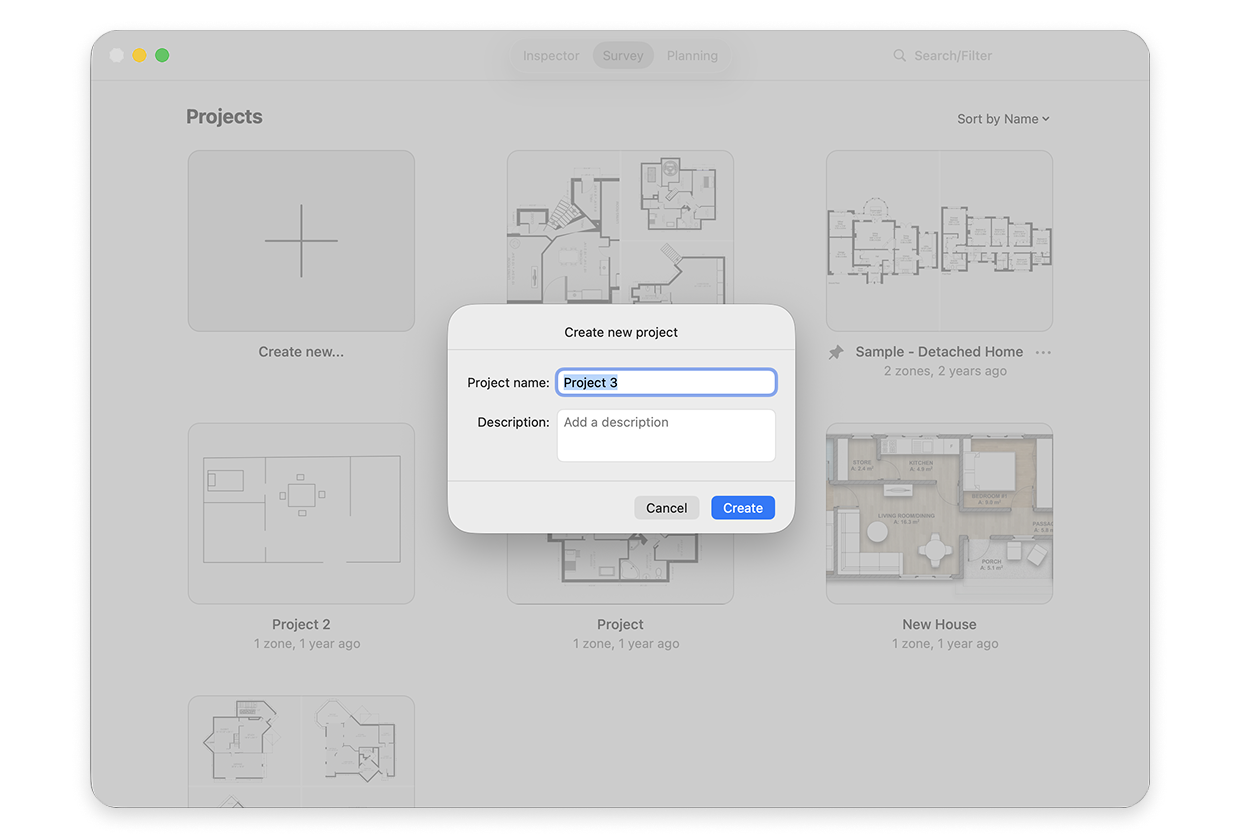
2) Open the NetSpot application and go to Survey. Click Create new… to start a new project. You can also select File > New from the menu bar. In the Create new project dialog, enter a project name and click Create. Then click Create Zone. If you already have a project, open it and click Add zone at the top of the left sidebar.
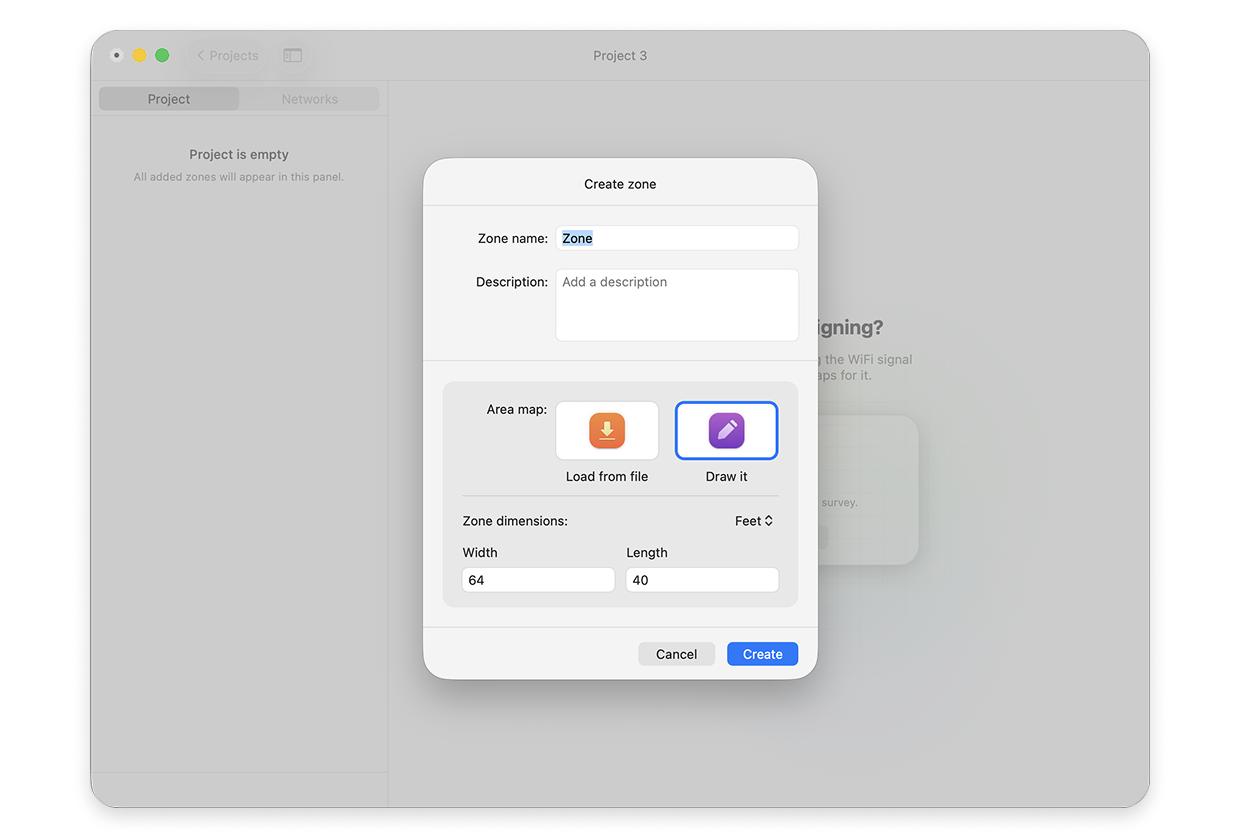
3) In the Create zone window, enter the name for your zone and select the “Draw it” option. In Zone dimensions, select the units (e.g., Meters) and enter the Width and Length of the space. Then click Create.
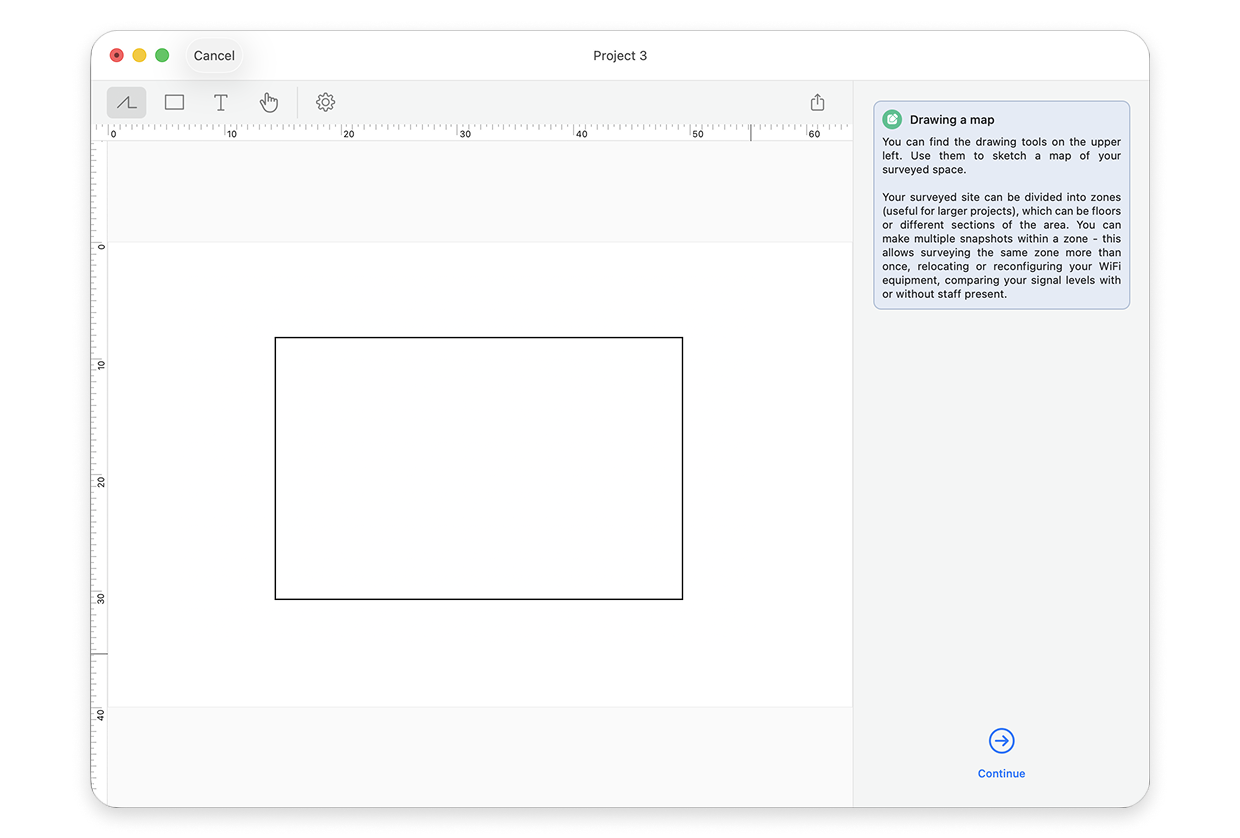
4) Use the tools in the Build Layout toolbar in the upper-left corner of the app window to draw your map.
Drawing tips:
- Straight Lines: To draw a perfectly straight vertical, horizontal, or 45-degree line, hold down the Shift key while drawing. Click once to start the line, and click again to finish it. Make sure to release the Shift key after your second click. You can also hold Shift while clicking an existing point to extend a new straight line from it.
- Zoom: To zoom in or out as you draw, use pinch-zooming with two fingers. Where this is not available, hold down the Command (⌘) key and press + to zoom in or — to zoom out.
- Connecting Points: Use the Option key to easily connect to existing points in your drawing when using any tool.
- Selecting Objects: Use the Hand tool to select an object. When you click it, it turns red.
- Deleting Objects: To delete an object, select it with the Hand tool and press the Delete key.
- Editing Objects: While an object is selected with the Hand tool, you can move it, change its shape (for example, drag one of a line’s endpoints), or edit its text. You cannot change the line type of an existing object: the gear icon is unavailable while the Hand tool is selected. To choose the line type (Thick, Medium, Thin, or Dashed), select the Line or Rectangle tool, click the gear icon, and choose it before you start drawing. You can also use the Undo and Redo buttons on the toolbar.
- Line Tool: Use the Line tool to create individual straight lines or connected geometric shapes. Click once to start drawing, and click again each time you want to anchor a point and change the line’s direction.
- Rectangle Tool: Use the Rectangle tool to draw a square or rectangle. Hold down the Shift key to draw a perfect square, remember to click when done. Click once to start drawing, click a second time to stop.
- Hand Tool: Use the Hand tool to select, delete or edit objects on your map.
- Text Tool: Use the Text tool to add labels and/or measurements to your elements on the map. Click once to create a text box, type your text, and then click again (or press Enter) when done. To change the font size, select the Text tool, click the gear icon in the toolbar and choose Small, Medium, or Large before you add text.
5) When finished with your map, you can save a copy of it as a PNG image (this saves the drawn map, not the survey project). To do this, use the Export icon (a square with an arrow) in the right corner of the toolbar.
6) Click Continue on the lower-right to go to the next step and set up the Data point precision and Active scanning.
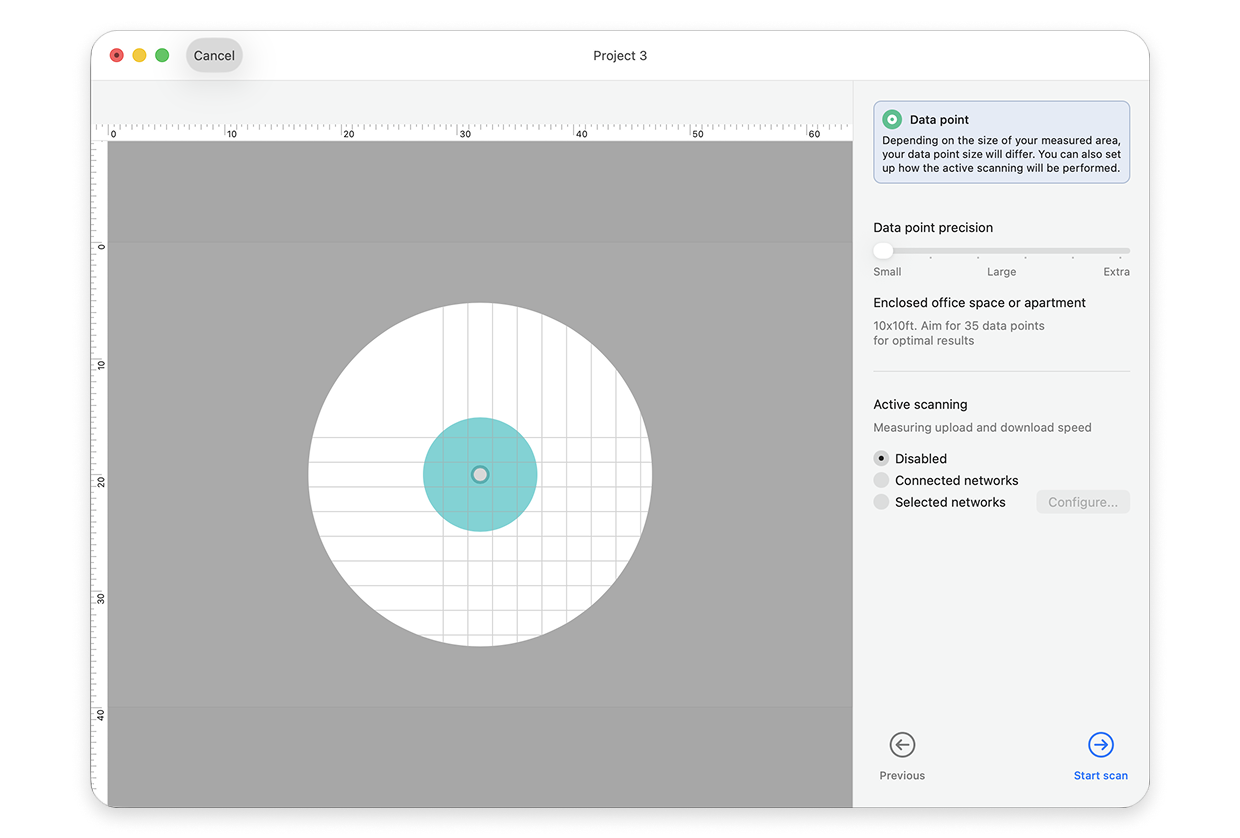
7) Click Start scan on the lower-right. After that, any time you need to save your current progress with the project, you can click File > Save to save it.
8) Now you can proceed to taking measurements to generate heatmaps. Follow the guidance in “How do I start my survey?” starting from step 7.